I hope to be thruhiking next year in 2021. Either the AT or the PCT, I haven’t fully decided yet.
So I wanted to talk about if can you vlog or cinematically document your thruhike with just a smartphone?
Spoiler alert: Yes, you can. For example, you can see a video I made about my coast to coast hike across Ireland which I filmed with just my smartphone.
I was considering getting a big mirrorless or DSLR camera but the extra money, the extra weight and the extra power needed for such a camera wasn’t worth it in my opinion.
Now the image quality you would get from a DSLR or mirrorless camera will always be better than your smartphone. They have bigger sensors, wider apertures, they’re capturing more light and have more information to work with.
But if you’re only planning on sharing your videos on YouTube (checkout my channel 🙂 ) you can get 95% (or higher) of the way there with just a smartphone and a few cheap, lightweight add-ons which I’m going to talk about here.
So let’s get in to it!
Best Phone To Vlog A Thru-Hike
Now obviously the most important piece of your setup will be your smartphone.
I use the Samsung S20 Ultra 5G.
Great phone, great cameras.
It’s got a standard lens, a wide lens and 100x telescopic zoom lens.
It shoots all the way up to 8k but I mostly just shoot in 4k.
Really though any of the newer iPhones or Samsungs or Pixel cameras will be more than fine.
Some of the specific features that made me go with this phone were:
Excellent Video Stabilization
It’s got excellent video stabilization, which is very important for hiking videos obviously.
If you’re hiking down the trail and your footage is jittery it makes it unusable really.
5,000 mAh Battery
It has a 5000 mili-amp-hour battery, which I think is the biggest on the market.
To put that in context the new iPhone 12 pro has battery size 2,815 mili amps.
So the s20 ultra battery is almost double the size.
Allows External SD Cards (up to 1TB!)
Possibly the biggest differentiator for video is that the s20 ultra allows external SD cards (in fact any of the Samsung phones allow this)
It’s internal storage comes in 128GB, 256GB, or 512GB. I just opted for the 128GB because I can add on up to 1 terabyte in SD storage.
1TB is the equivalent of 25 hours of 4k footage!
- 1TB SD Card: https://amzn.to/2Vzw5lj
- 500GB SD Card: https://amzn.to/2JjEsPN
- 200GB SD Card: https://amzn.to/2VtyfTS
- SSD External Storage: https://amzn.to/2JEvlbU
With an iPhone you’re going to have to transfer your footage to an external SSD or upload to the cloud, which in some trail towns would be impossible.
With the S20 ultra, just bring a little SD cards and you’re good to go. If after a few months I find I need more, I can just buy another one.
So, that’s the phone and as I said you don’t need THIS phone, any high end phone will do but those are the reason I chose this phone.
And even with just your phone, nothing else you can cinematically document your thruhike.
Cheap, Ultralight Accessories To Improve Your Hiking Videos
But there are a few simple things you can add to your kit which will greatly improvement the cinematic quality of my footage.
Ultrapod 1 – Ultralight Tripod

An essential piece of gear is the Ultrapod One, which is just lightweight tripod.
These are especially good for hyperlapse shot and can also be used as a handle to get steadier shots.
They also have a velcro strap which you can wrap around a tree or branch to get even better shots.
Manfrotto Phone Clamp – Securely Hold Your Phone
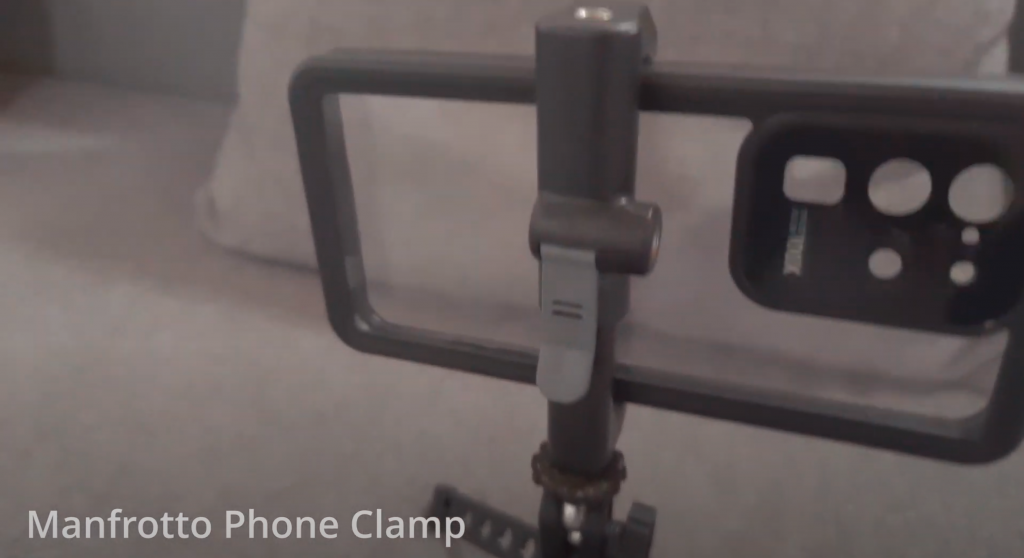
I couple this then with a phone holder.
The one I’m using now is the Manfrotto Phone Clamp, which is super secure and sturdy and has three tripod screws so you can add on different accessories if you want.
I also used the Adonit V grip. Which has some great features. It’s got a cold shoe mount on top, an extendable self stick. and a bluetooth capture button which is also removable.
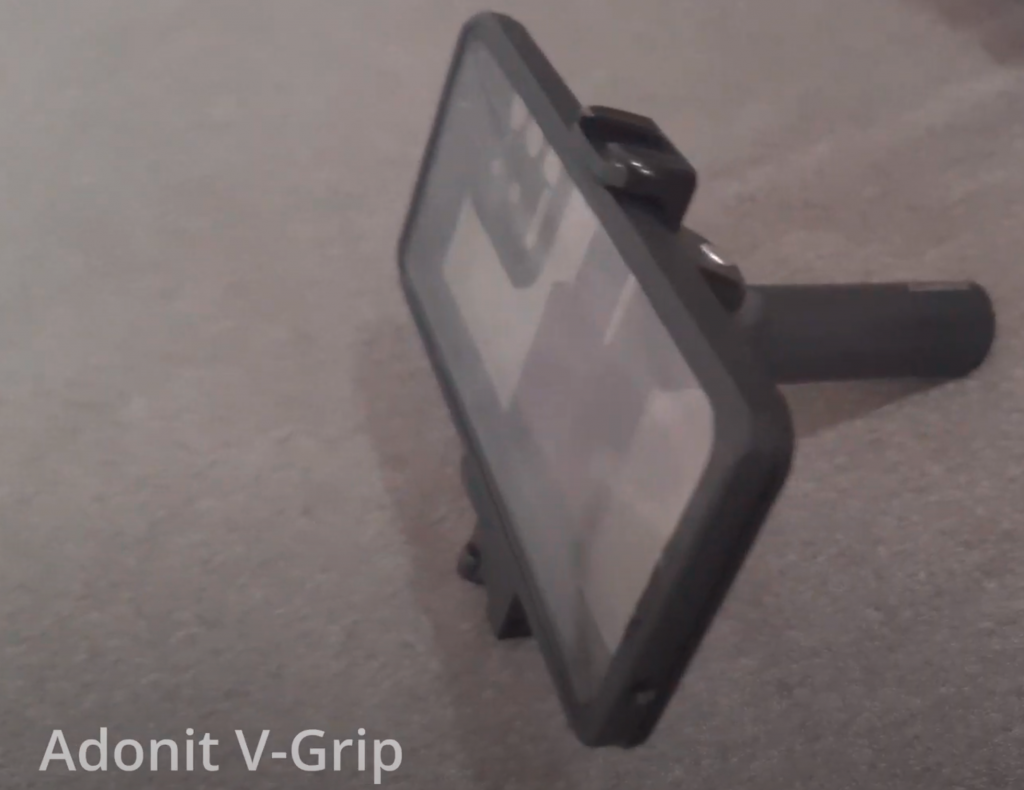
The problem is the actual phone holder broke, the little flap that actually holds the phone snapped and I had to super glued it back on.
Whilst I prefer the features of the Adonit V-grip, it failed at it’s primary task.
So I recommend the Manfrotto clamp. It’s simpler, it doesn’t have all the features but it’s rock solid.
Rode VideoMicro Microphone
Good audio is the most important aspect of good cinematic videos. The eye can forgive lower resolution but the ear can’t forgive bad audio. So if you’re going to invest in anything, invest in audio!
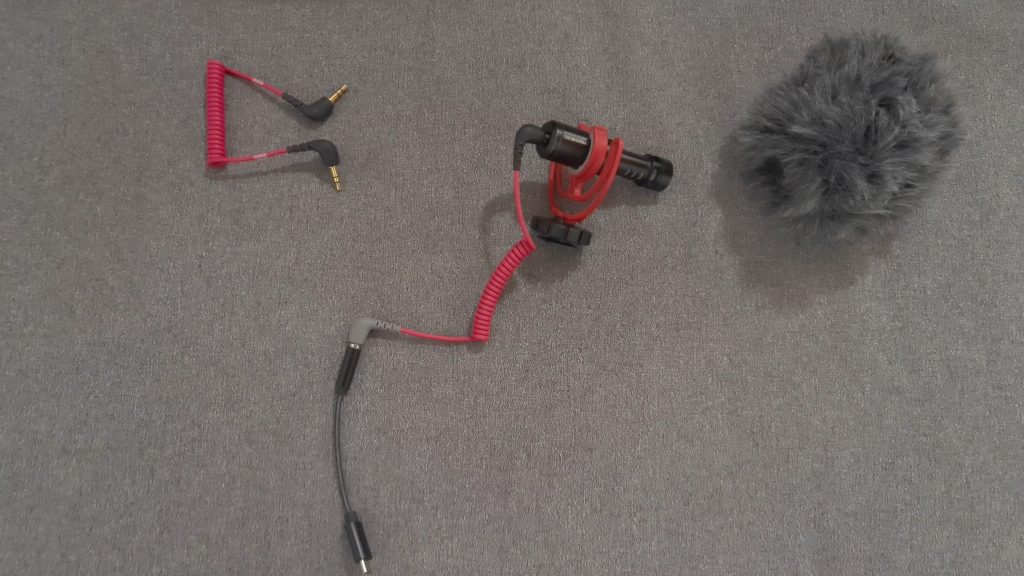
I’m using the RODE VideoMicro microphone and it’s perfect for hiking.
This has a removable dead cat wind muffler and shock absorber holder.
Now if you’re planning on using this with a smartphone, you’ll need to get the smartphone adapter cable.
The usually black to black cables is for DSLRs etc.
For Smartphones you need the black to grey cable. The black goes into the mic, grey into your phone.
Now if you’re phone doesn’t have a headphone jack (like most of the newer ones) you’ll need a headphone jack to usb-c converter, these are very cheap though.
Variable ND Filter – Sunglasses For Your Phone!
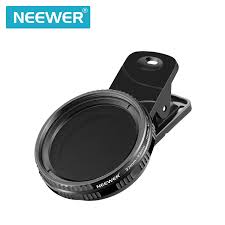
I’m also using a variable ND filter.
This is the Neewer Variable ND Clip.
ND stands for neutral density. So an ND filter is essentially sunglasses for your phone. Now why would you want that?
Well, it allows you to have a lower shutter speed and a lower ISO, which will help you get more cinematic looking footage.
Another ND filter out there is the PolarPro Case, which looks like an awesome product but
1) It’s pretty expensive, the Neewet Clip is about 80% cheaper
2) The PolarPro Case isn’t waterproof.
So I’d rather a solid waterproof case like this one and then whenever I want I can stick the ND clip on top.
Because obviously if you’re phone gets soaked… that’s not good!
Filmic Pro App – Manual Control Of Your Phones Camera
And the last addition I would recommend is an app called Filmic Pro.
This app gives you total manual control over your phones camera. You can control the frame rates, the iso, shutter speed, the resolution, focus, zoom… everything!
You mightn’t always need this but there could be certain situations where having full manual control will give better cinematic footage.
A very quick example.
Here is some I footage I shot with just my phones camera versus footage shot using filmic pro app, changing the manual controls to get more cinematic looking footage.
Both of these shots were color graded in my video editor (DaVinci Resolve) but color grading can only extenuate the information already there, so I use Filmic Pro to gather more information so I can do more with the same footage in post-production.
Vlogging Your Hike With Just A SmartPhone
So, if you’re out there and you think you need to get a ‘big’ camera to have quality video, you don’t.
Using any of the gear I outlined will help you bridge that gap between smartphone and DSLR/mirrorless cameras.
I hope this useful. If you have any questions, comment below.
And if you want to follow my hikes and get more gear tips & tricks then make sure you check out my YouTube channel.
For more inspiration on how to vlog your hikes better you might like this other article on how to vlog like Elina Osborne.